For reports and presentations
How to export a GeoTIFF preview as JPG or PNG
Make an easy-to-share picture while keeping your original geographic data intact.
Reviewed:
Use JPG or PNG when someone needs to see the image. Keep the GeoTIFF when they need its location, original bands or values. This tool exports a rendered preview, not a lossless conversion of the dataset.
On this page
Prepare the picture before exporting
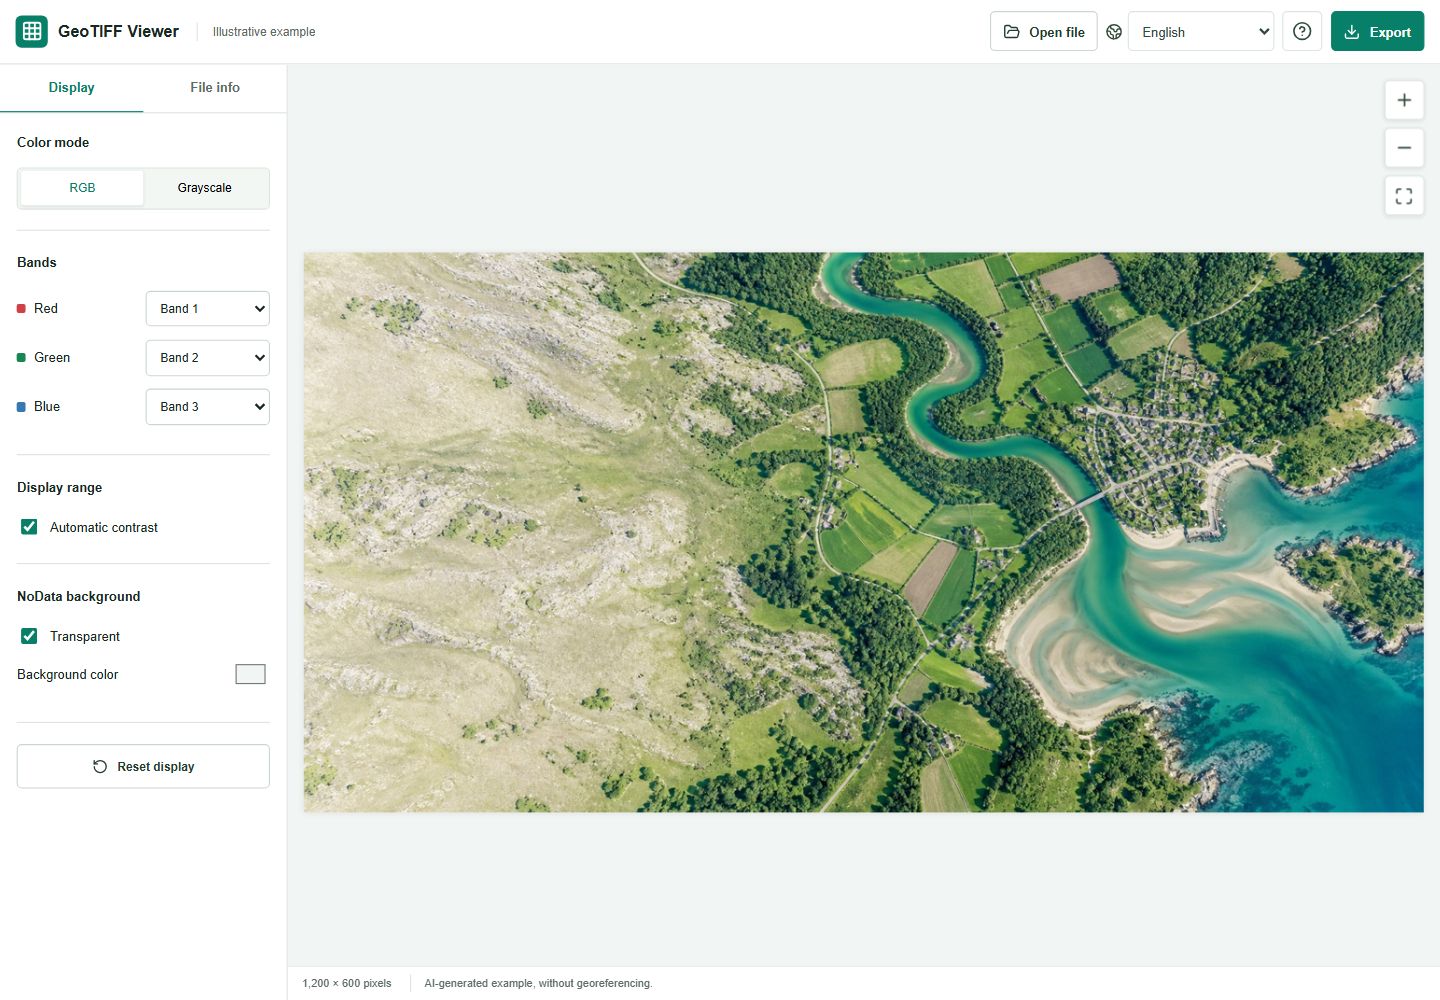
Open a supported local TIFF, select RGB or grayscale and choose the bands you need. Adjust contrast until the relevant features are visible. Check NoData and the background setting, especially when the image footprint has empty borders.
The export contains the entire rendered preview. Zooming in does not crop the exported image. If you need a geographic crop, prepare it in GIS software before opening it here.
Save the preview
Use the export control after the image has loaded. The dialog reports the output dimensions so you can check whether they suit your document.
- Open Export and choose PNG or JPG.
- For JPG, choose the quality and check the background that will replace transparency.
- Save the image and open the downloaded file to check its appearance.
- Keep the original TIFF and add source, date and display notes to your report separately.
Choose PNG or JPG for the actual destination
PNG is useful when you need transparency or want to avoid JPEG compression artifacts in the rendered picture. It still does not preserve the original scientific pixel values. JPG is often convenient for photographic-looking previews and documents where file size matters; reducing quality may introduce visible artifacts.
Neither choice restores detail removed while generating the preview. Our output is limited to 1.2 million pixels, with a maximum longest edge of 1536 pixels. Inspect it at the size at which readers will actually see it.
Does a JPG or PNG keep the geographic location?
Not in this viewer's export. The result is a normal picture without georeferencing, source bands or scientific values. An EPSG code shown in the information panel is not embedded into the exported preview.
Other GIS workflows can create an image together with geographic sidecar information. That is a different operation, and a georeferenced JPG workflow should not be confused with clicking Export here.
Reference: PIX4D: a separate workflow for georeferenced JPG files
Deliver the picture and the data for different purposes
For a slide, send the preview with an informative caption. For an analyst, send the original GeoTIFF and the provider's documentation through an appropriate channel. If both people are involved, clearly label which file is the communication copy.
A useful caption states the source, acquisition date if known, displayed bands and any contrast adjustment. Do not label a preview as an analysis-ready dataset or imply that a date in the filename was independently verified.